
Celestaphone
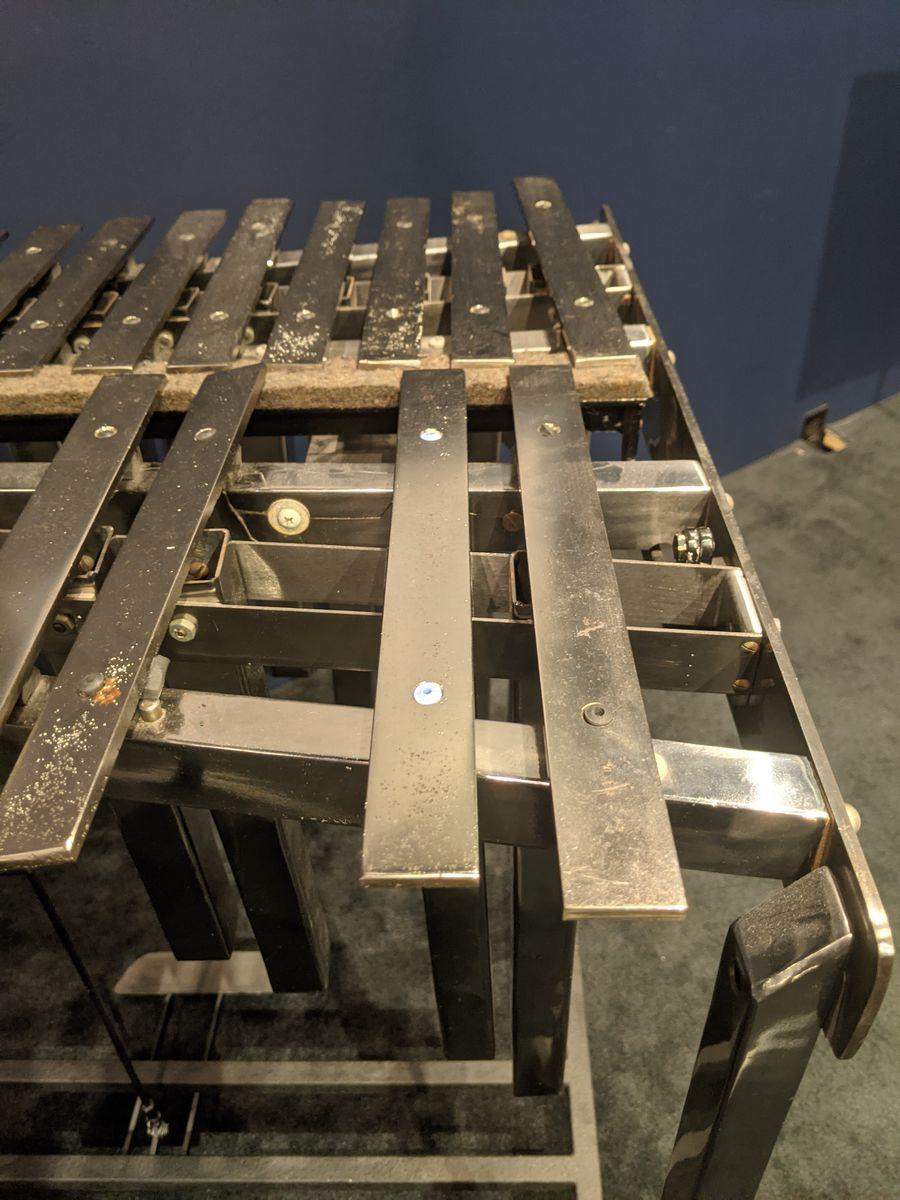
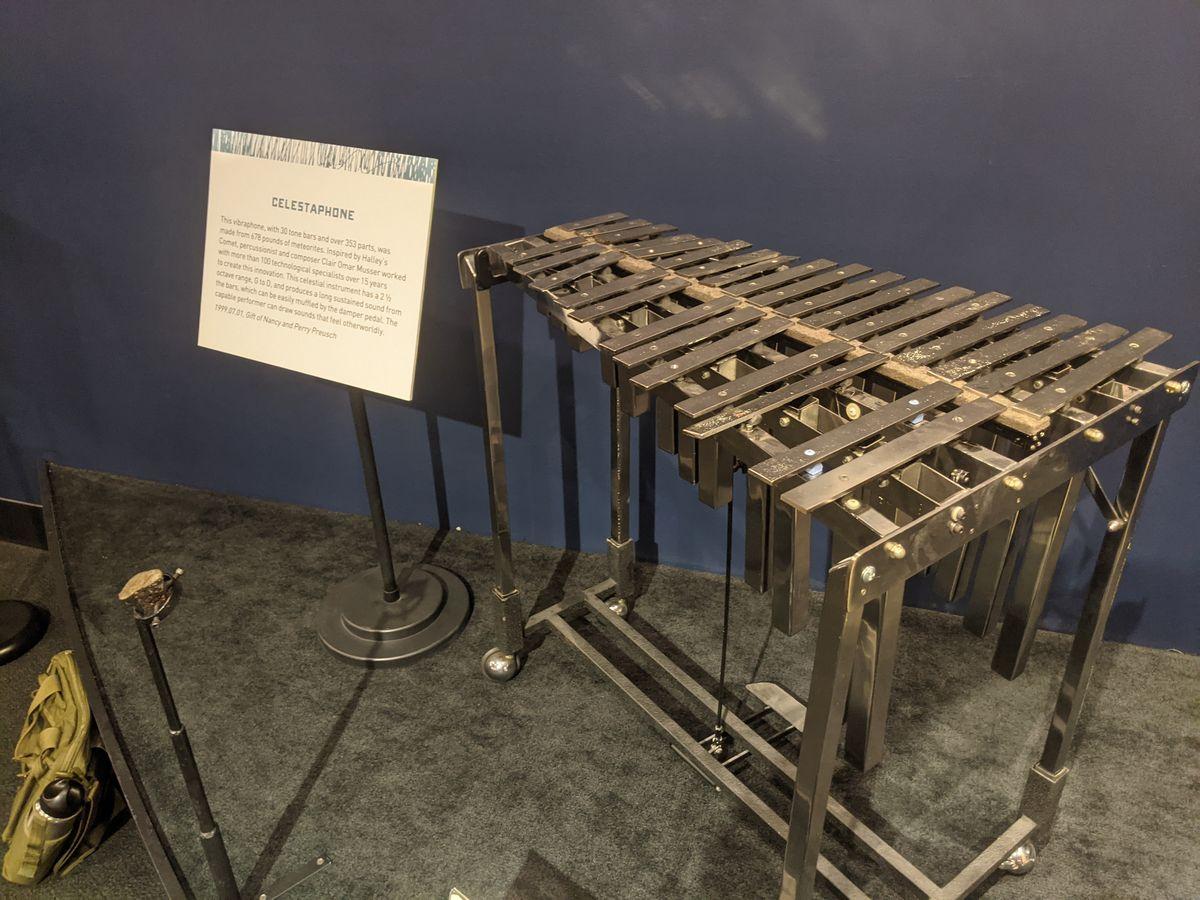
The Celestaphone is a vibraphone made from meteorites at the Rhythm Discovery Center, and the object of a collaboration across time and space.
Initial measuring
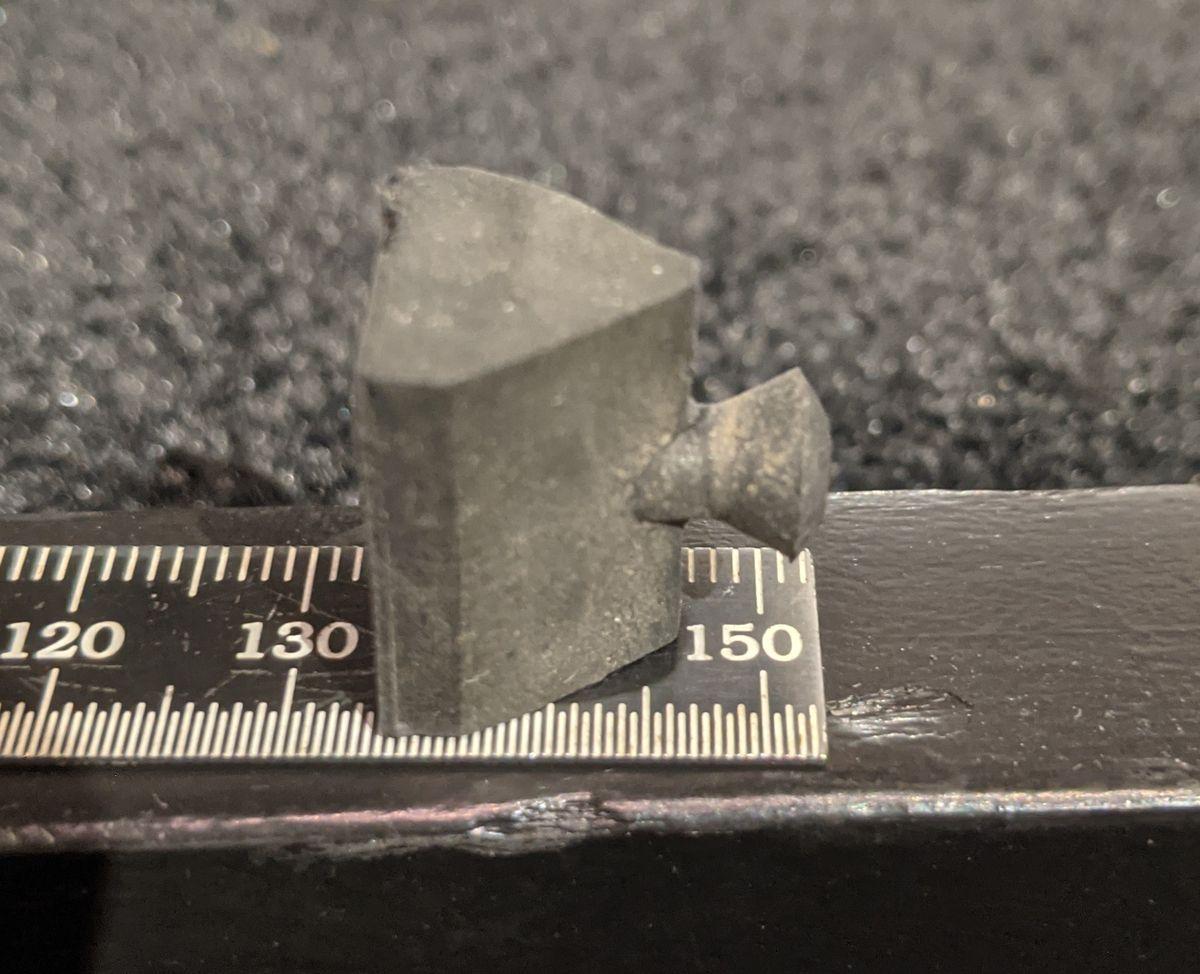
When the Education Manager at the Rhythm Discovery Center told me he had a vibraphone made of meteorites, I was extremely interested. "What would it sound like!?" I wondered. Then I was told that the quote he received from a tool shop to reproduce the part was over $10,000! Woah. When we had first discussed the problem, I was becoming knowledgeable about filament 3D printers. I ran an experiment to try to solve the problem in-house with filament, and the result was that I would have to learn more before being able to solve his problem. A few years later, I had done just that, and proposed a solution to the Rhythm Discovery Center about the Celestaphone parts. Game on; here's preliminary measurements being taken.
How'd we do?
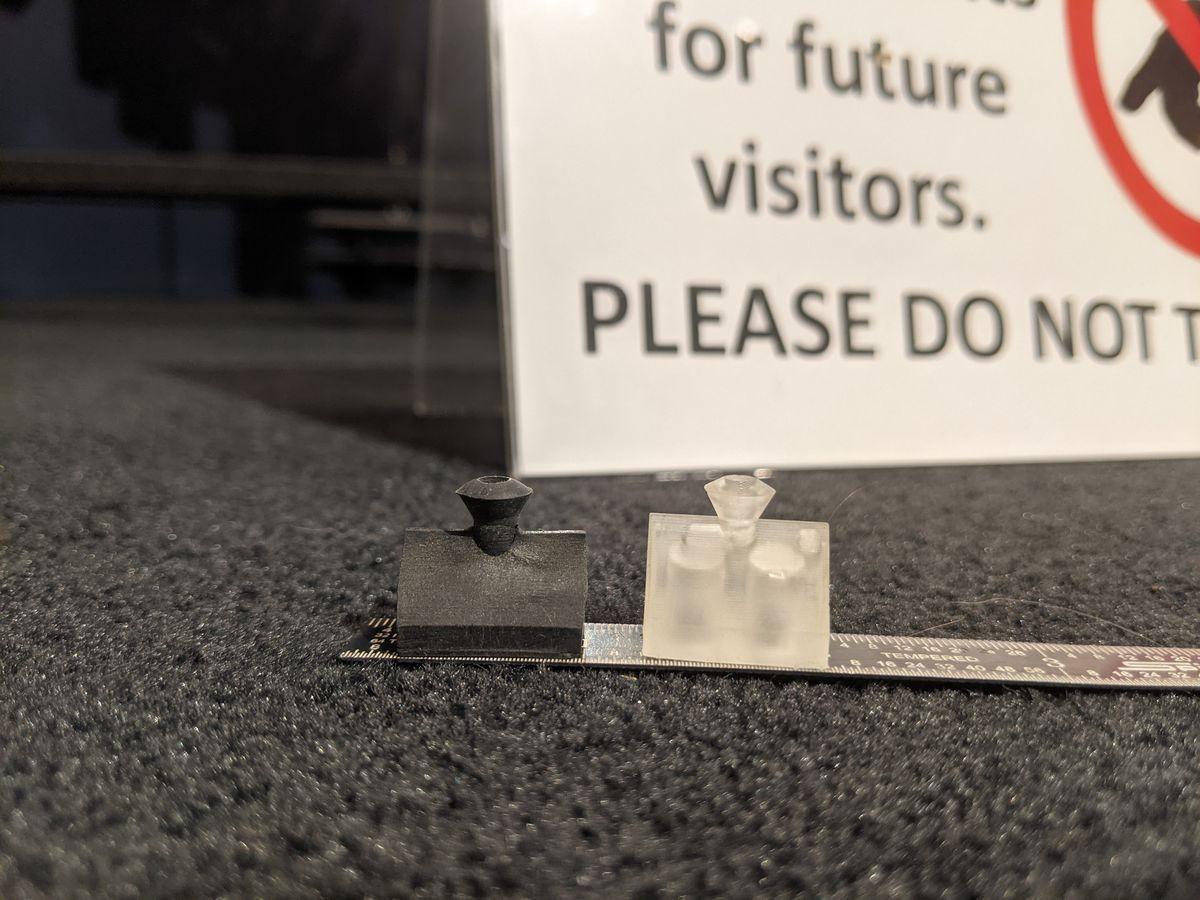
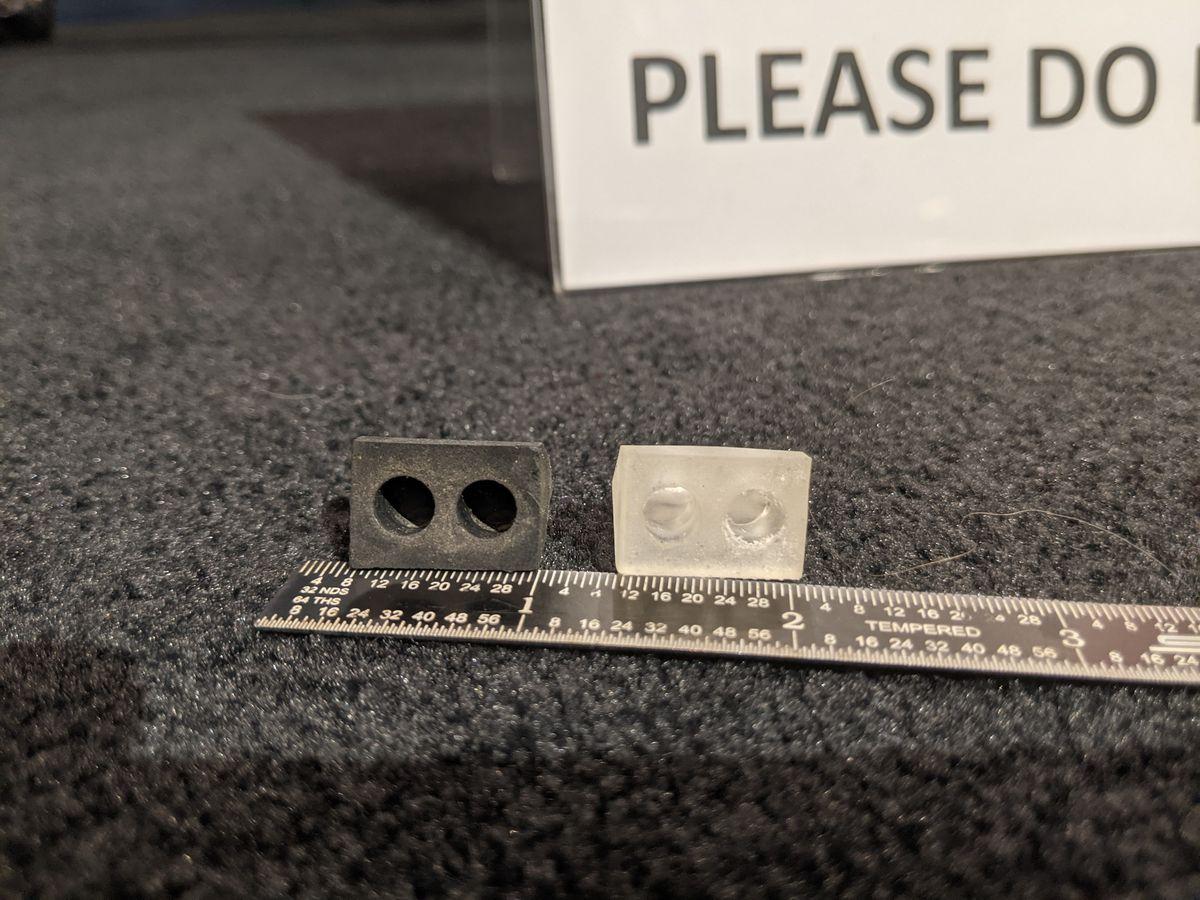
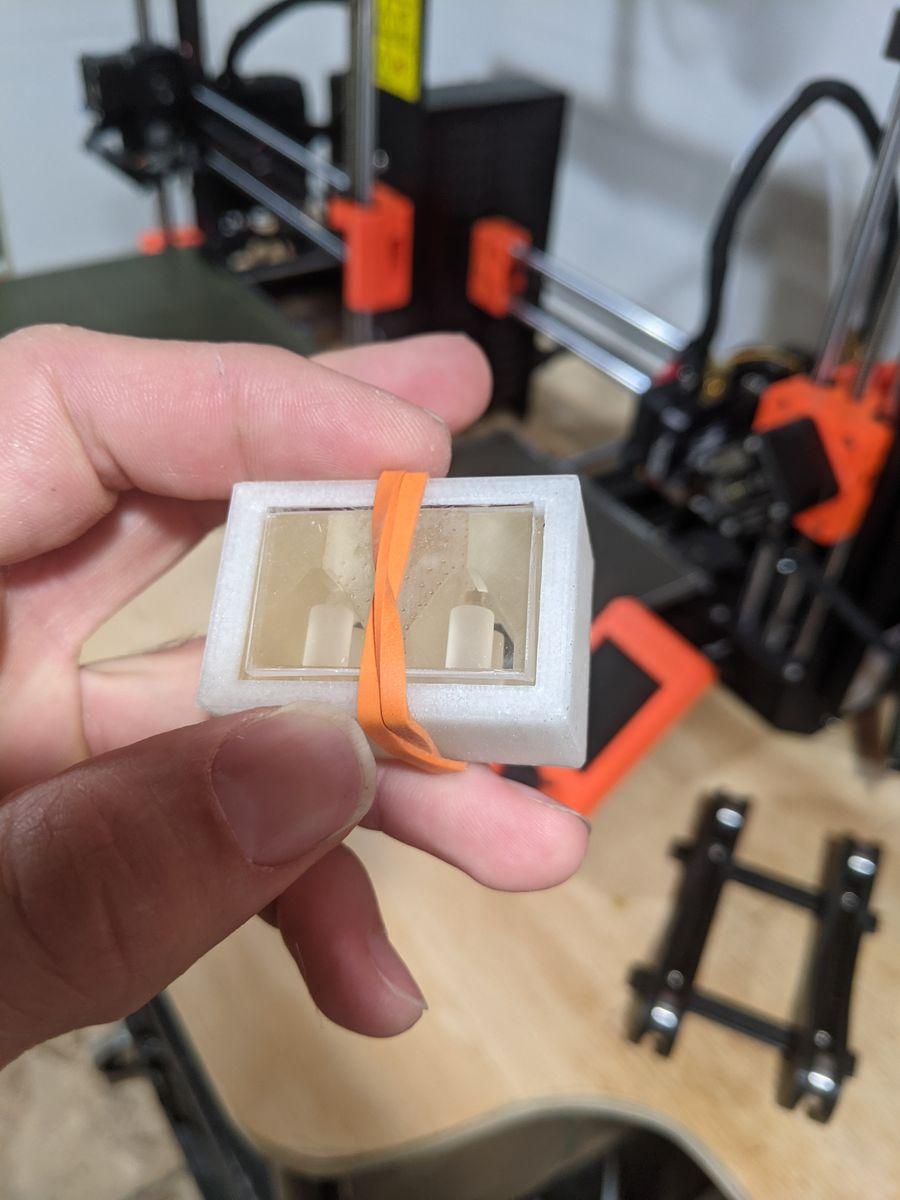
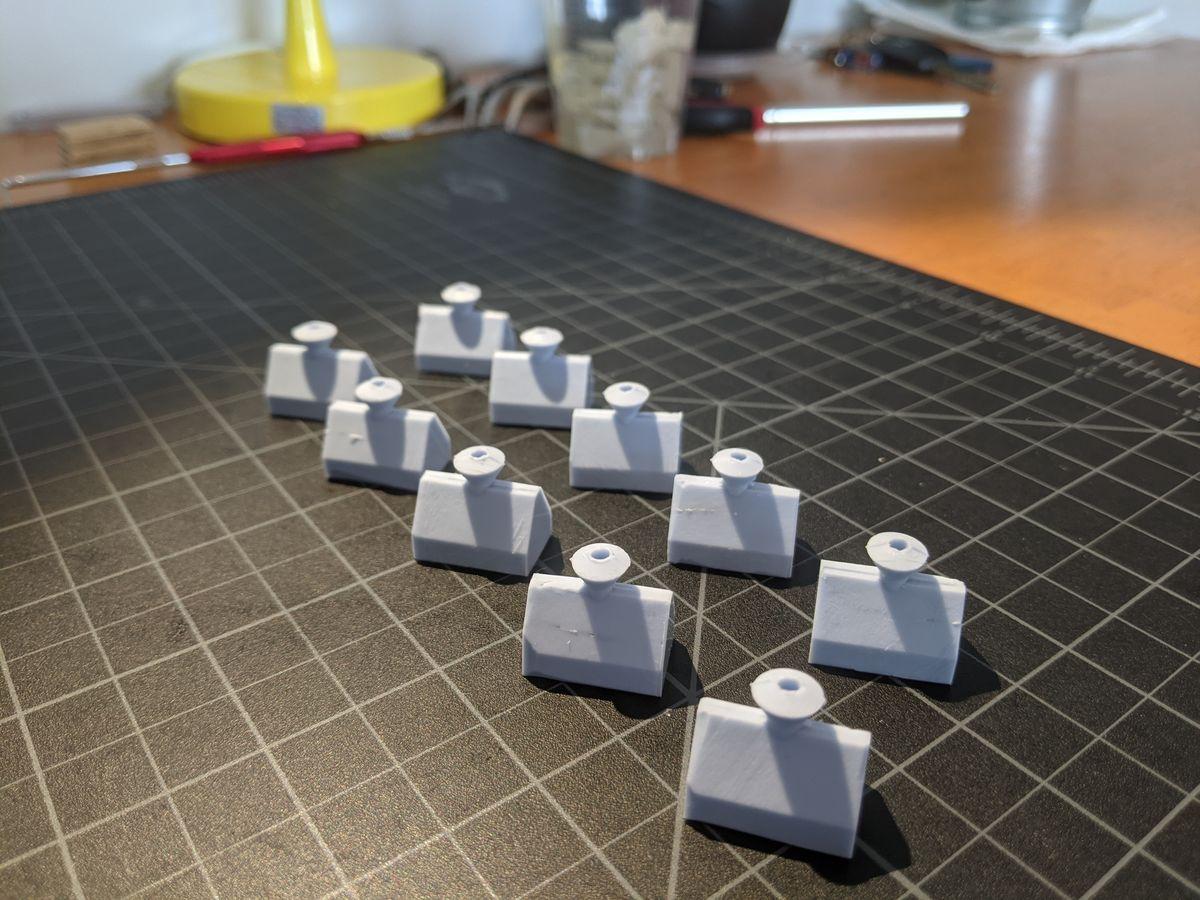
Here we see a resin part, designed in CAD and printed with a desktop resin printer, sitting beside an original piece. New measurements were taken, adjustments made in CAD, and then a complex multi-piece mold box was designed.
Multi-piece mold
Here we see three different pieces of a mold being held together. The complex shape of the original rubber piece necessitated such a complex, multi-piece form.
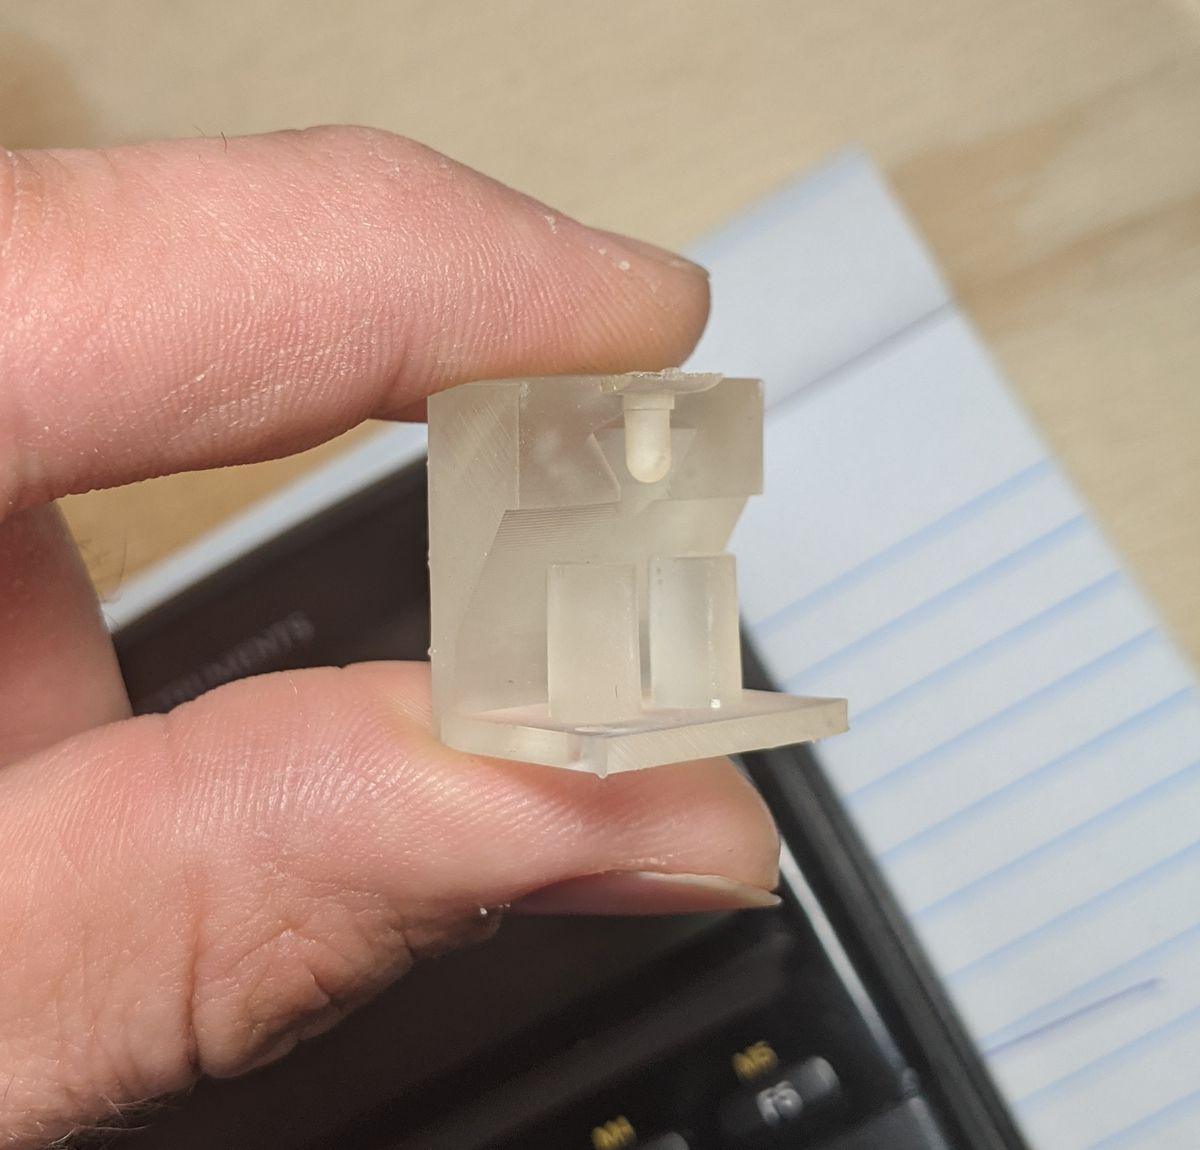
A view inside a mold box set and ready to go.
It's not always evident what the best way to orient a mold will be. Sometimes you find out you were wrong when the part just won't come out. Here, though, I had decided early on that casting the parts in this arrangement would make for the easiest demolding.
Curing the silicone
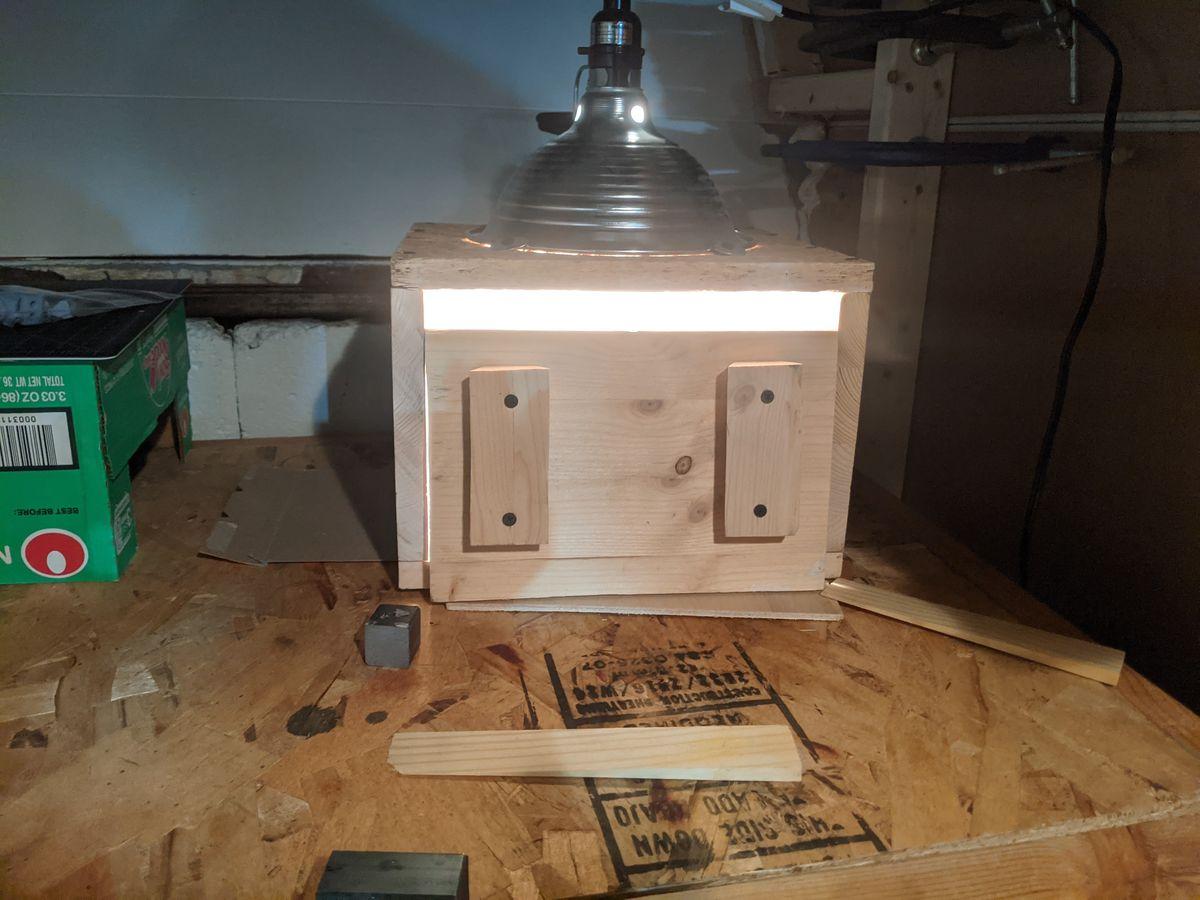
Casting the archival silicone requires a few rounds in a vacuum chamber. Then the filled molds go into this improvised curing station. With a heat box design such as the one pictured, use lower-wattage incandescent bulbs. 100 watts is far too much, and you've built an easy-bake-oven. 40 watts is just right. The door can be left ajar, as well, to more precisely regulate temperature.
Demolding
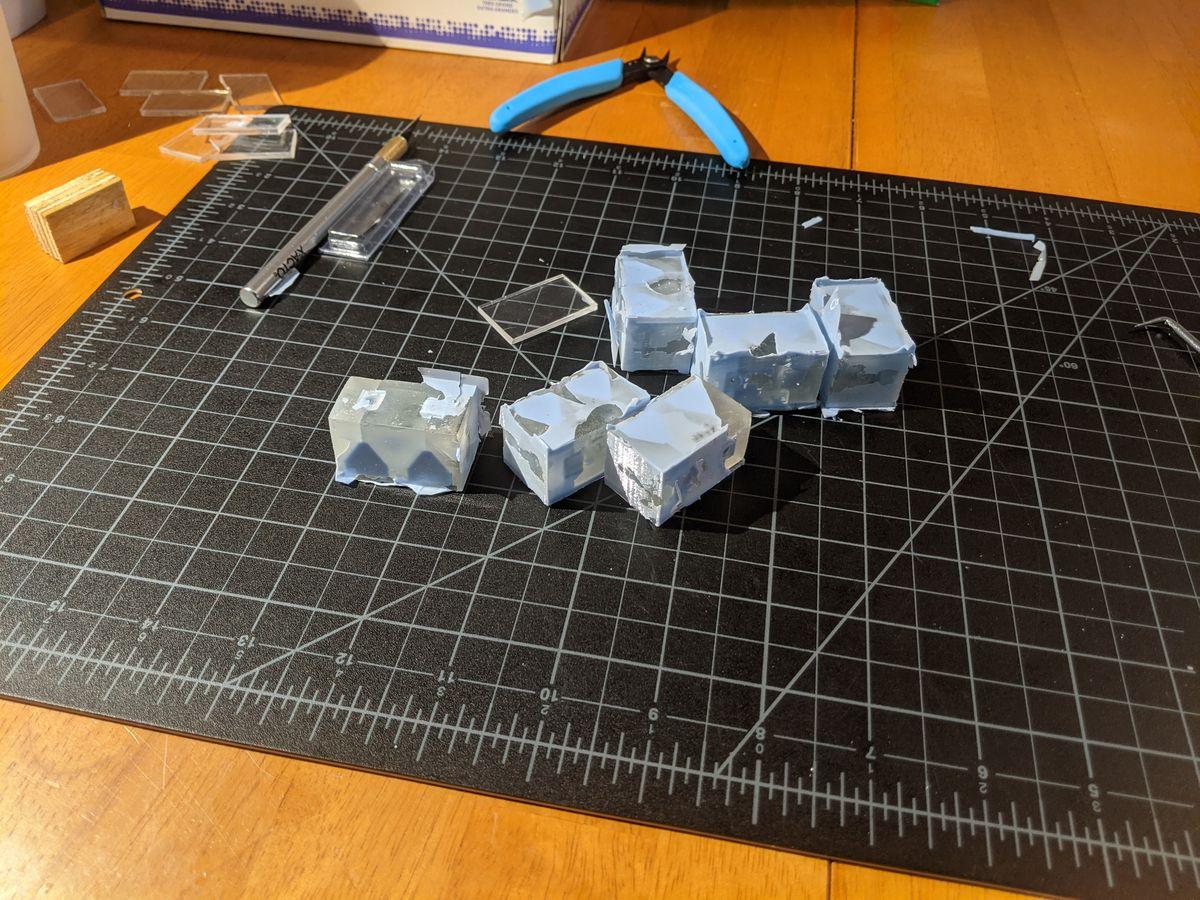
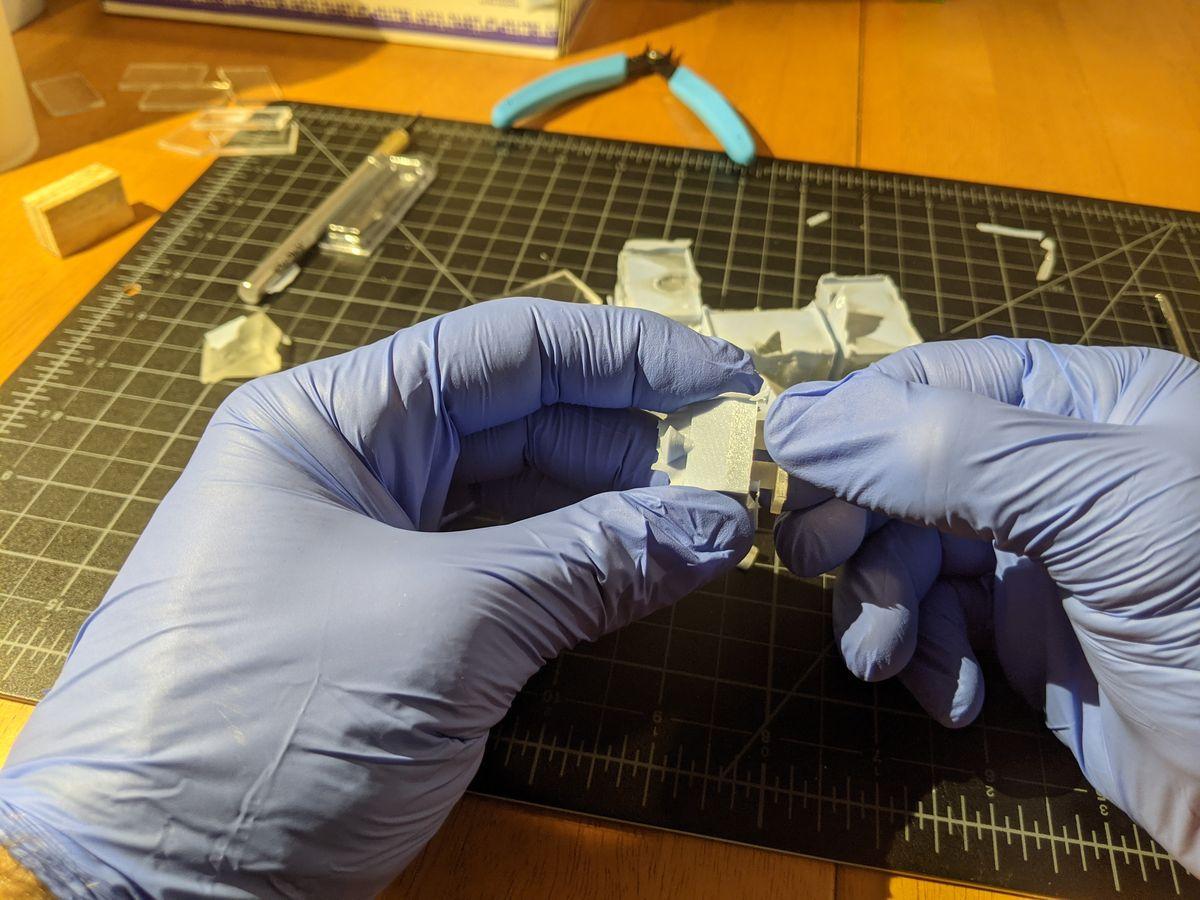
Here, a round of silicone castings is ready to be demolded. Getting them out of their surrounding mold box requires careful persuasion, and eventually a bona fide technique involving a small wood block and a quik clamp.
Ready for installation
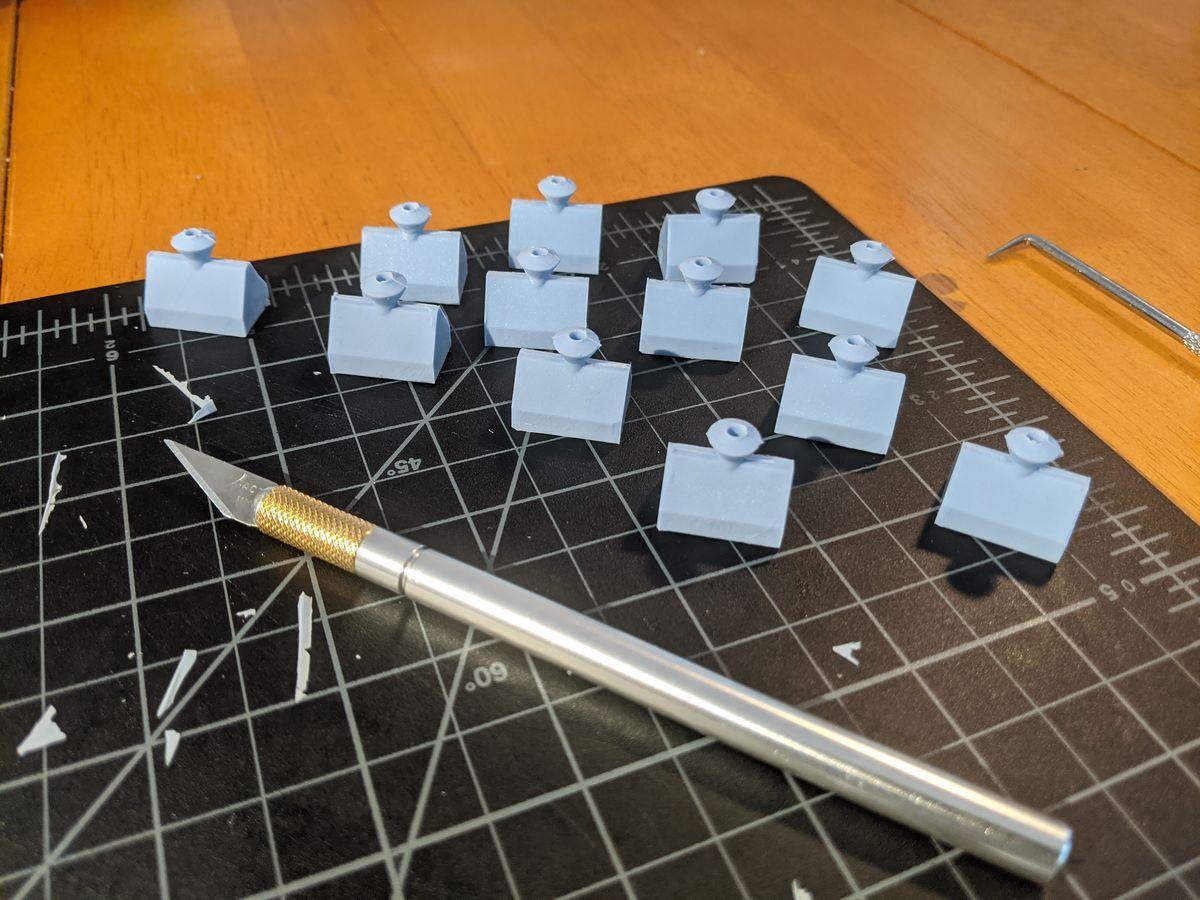
See how quickly and easily these parts clean up! (Ok, that part is total Hollywood magic; cleaning up the parts took a while. Cleaning the molds to prepare them for another round of casting took, by far, the most time of any of the production tasks).
Ensuring the fit
See how nice the new parts look on that beautiful instrument? I can't wait to hear what it sounds like!
Curing resin mold patterns
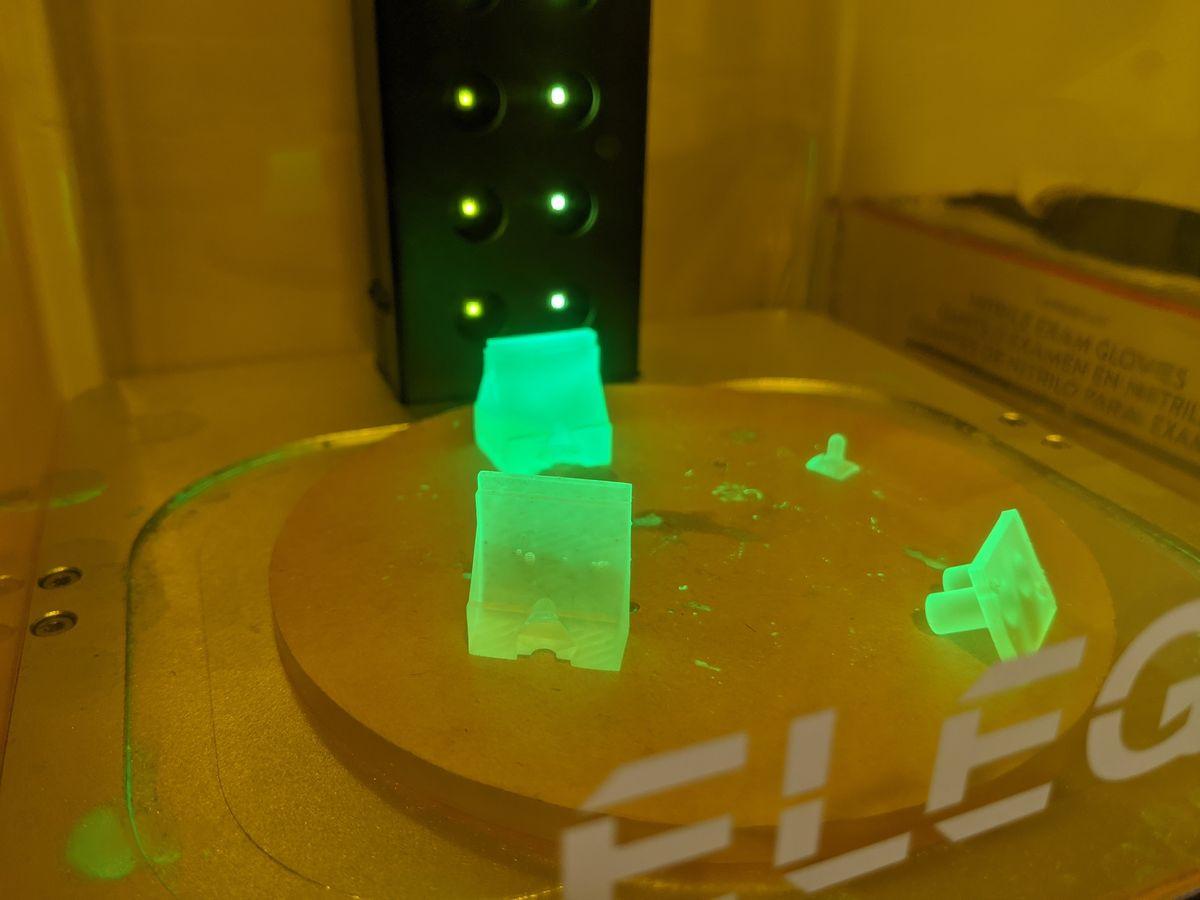
It's nice to be able to run more than one batch of castings at a time if you can manage. Here we see some fresh resin mold patterns being cured by UV light.
Loading mold box
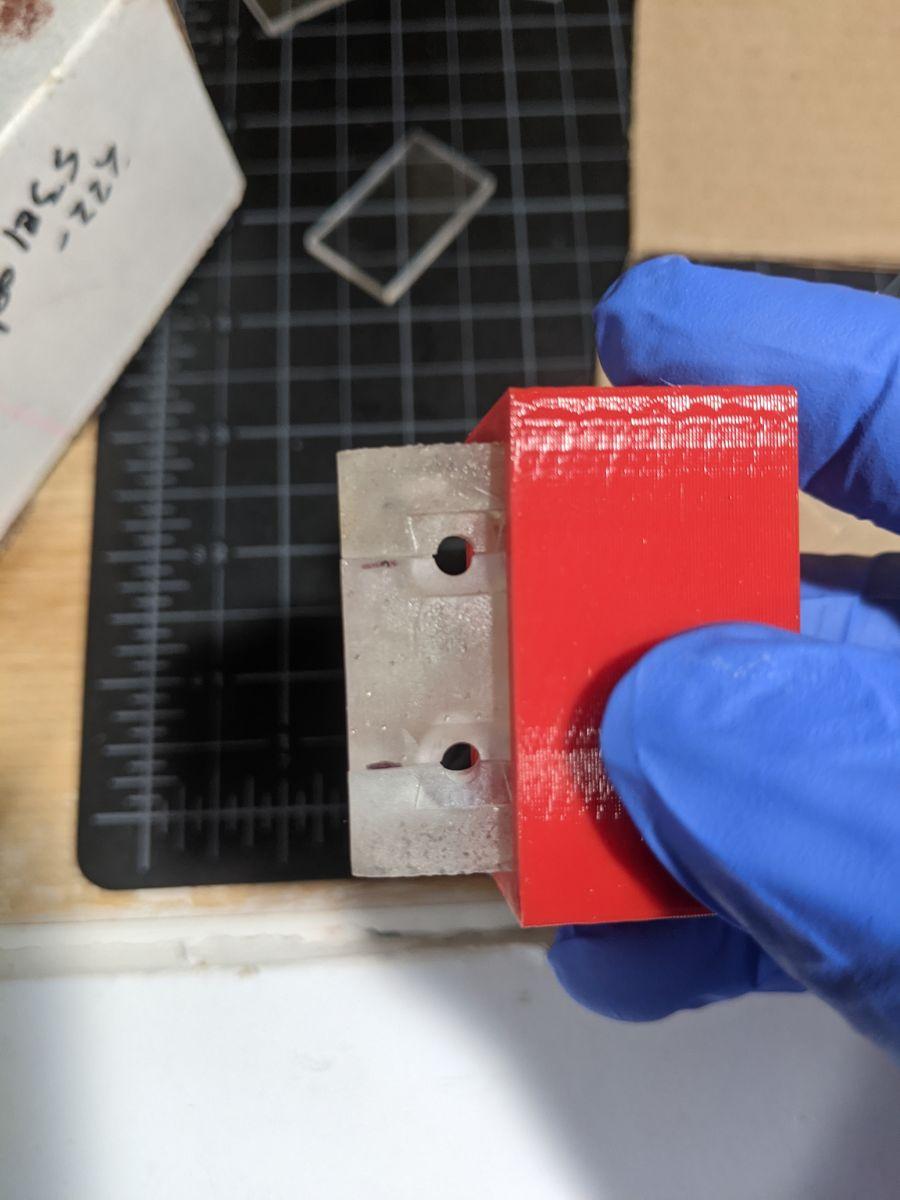
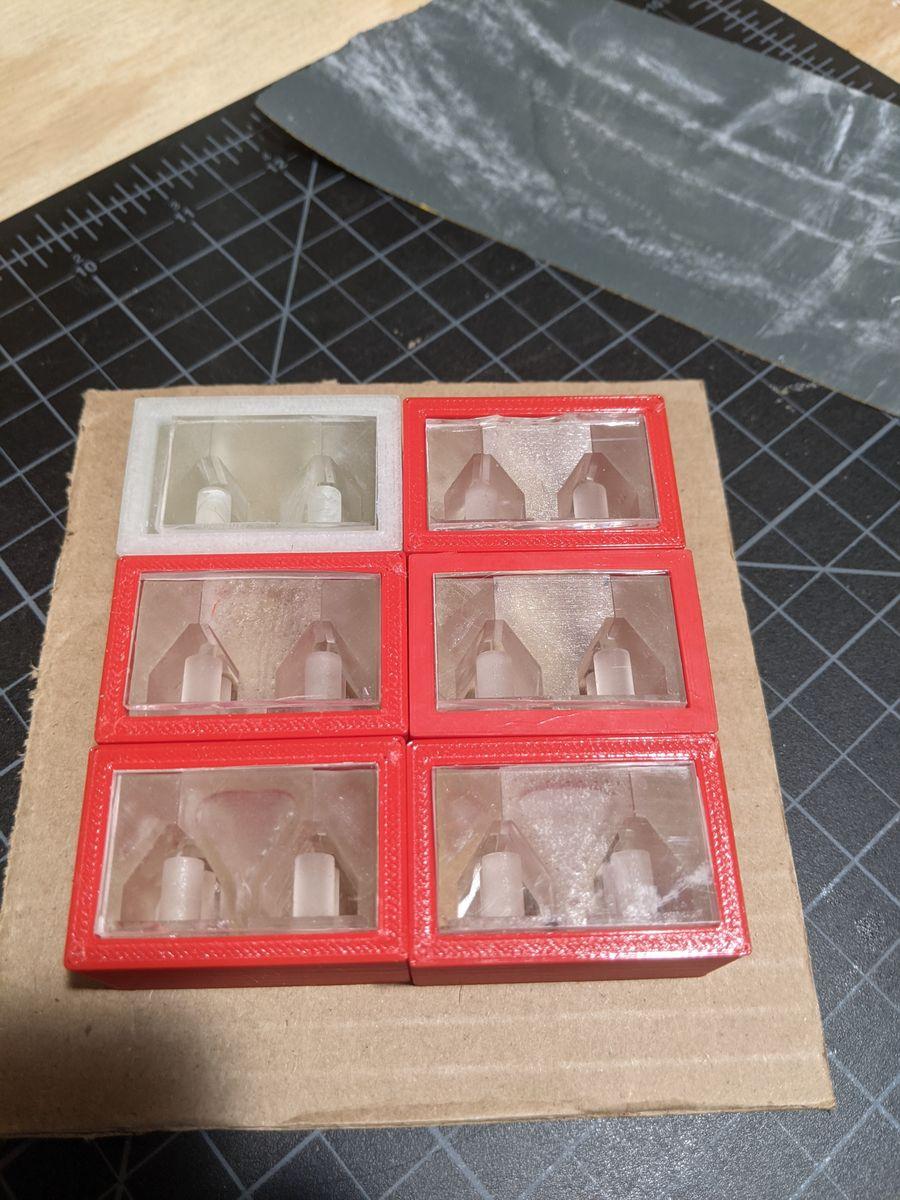
Each mold box holds seven mold pattern pieces and casts two identical parts. The two holes made between the three top pieces shown in the photo hold additional pattern pieces in order to produce the negative space present on the original rubber part.
More fresh parts
The Rhythm Discovery Center required many new parts, and so the summer included lots of small-batch casting sessions.
Demolding detail
Demolding a round of fresh casts.
Mold detail
At most, 12 parts can be successfully cast at a time. The vacuum chamber is rather small.
Hear it play
And here we get to hear the Celestaphone played in all its new glory... The Rhythm Discovery Center’s film even talks about the replacement parts you just learned about. The instrument, with its fresh new parts, looks great and sounds awesome. I wonder what Clair Musser would have to say about how his instrument has been brought back to life.